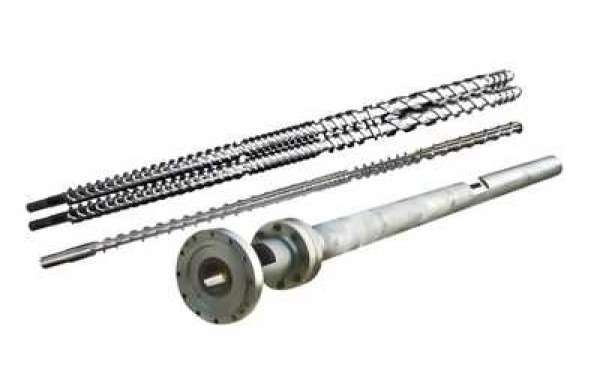
1. After the spare Single Screw Extruder Screw Barrel are installed together, the hoisting operation can be carried out.
In order to prevent the screw from sliding in the barrel, it can put some small pieces of wood in the middle. And then hoisting the barrel to the original position smoothly.
Fixed the barrel, and connect the storage head with the feeding section well.
2. Hoist the reducer back to the frame of equipment.
Align the reducer connection sleeve with the screw key groove end and connect it to the position.
You need to use a special screw to remove and install too to connect here.
Lubricating grease should be applied on the connecting sleeve and screw key groove end.
In this way, it’s convenient to remove in the future.
Install and tighten the fixed bolts of the frame and reducer.
Install the fastening bolts for the feeding section and reducer.
Install extrusion motor and coupling parallel connection.
Install heater and connection wiring.
3. Install the automatic feeding device, carefully check all kinds of connection wiring and connecting bolts. And then can machine testing after heating.
4. If the reducer needs to be replaced with grease, this opportunity can be used to change the oil. At the same time, the motor of the extruder should be inspected and maintained.
If you want to purchase Injection Molding Screw Barrel, send us messages!