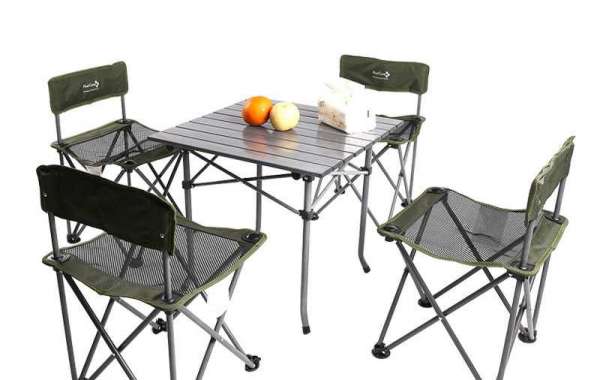
That's right, kids. A glammed-out folding card table chair. Because those things are so very ugly to begin with. I'd highly recommend embarking upon a similar transformation with your own card table chairsies. Here's the lovely straight-from-the-90s specimen I started out with, complete with water-stained seat:
First step: take off the rivets on the back rest with a screwdriver and hammer. And pliers. Those rivets were mangled when I was done with them, but it didn't matter. Just try not to scratch the back of the Folding Chair Wholesale | Zero Gravity Chair Manufacturers.
Next, unscrew the seat from underneath. Easy peasy.
As soon as possible, take the metal chair frame and set it up in a well-ventilated area. Like nature.
Spray paint it, using light strokes. You might be tempted as I am, when spray painting, to lay it on thick all at once. Don't do this--the paint will run, and it will end up looking junky. Trust me. Just do lots of light passes from all angles. (I think I did two complete coats.) Oh, but don't worry about where the seat and back cushions will cover.
Then, head back inside (or wherever the other chair parts are), flip the seat cusion upside down and remove staples with a screwdriver and pliers. Or I suppose you could simply staple over them. Depends on how thick your original fabric is. And how OCD you are.
Lay the seat cushion on your new fabric and cut about 2" around the whole thing. This will be folded up and over and stapled to the bottom of the seat.
Start stapling, just a staples in the middle of one side then the middle of the opposite side. Then a couple more staples in the middle of the two other sides, being careful to pull the fabric taut and square. Then, from the middle parts where you've just stapled, staple outward on each side (keep pulling taut) until you're about an inch or two away from the corners.
Fold in the corner, pull taut, and staple once. Then pull in one side of the corner until smooth and staple (the goal here is letting no pleats show on the seat top when flipped over). Repeat on the other side of the corner, then move to other corners and do the same.
Trim the fabric about 1/4" to 1/2" away from the staples.
Remember how the rivets were mutilated when we removed the chair back? You do? Gold star. I used a generous amount of my go-to adhesive, and simply glued the padded seat back to the frame, lining up the old rivet stubs on the seat back with the holes in the chair frame.
To cover the holes that now showed on the back of the chair, I cut five pieces off an old nail trim strip, spray-painted them, and hot-glued them to the chair. Hot glue isn't exactly heavy-duty, but I needed it to dry fast. And, really, it IS just a folding chair after all. Not exactly made to take a beating.
End result of the folding chair makeover:
Cute, no? It seriously was way fast and, using leftover materials, 100% free. Gotta love that. I'm interested, though...do you think it's worth putting time into an old folding chair? Or should we all just agree that they're ugly little monsters and leave it at that?
We are portable folding bed manufacturers, Please contact us if you need.