Installation instructions for different types of bathroom faucets:
How to install the bathroom faucet? We deal with bathroom taps and fixtures every day most of the time! In order to ensure a perfect installation and a correct working faucet, it is important to make sure that there are not a few important things in the list. Proper maintenance of bathroom faucets and fixtures can extend their service life and save you money. We have collected the most common and uncommon strategies for you to keep properly when you install the faucet for the first time. View common installation instructions for bathroom faucets:
Installation, maintenance and maintenance of faucets
A) Important precautions for faucet installation:
Before using the newly installed faucet, remove the aerator (if present).
Turn on the water to the tap and let it flow for 15 seconds. This can flush out the sediment in the water pipeline and prevent the sediment from entering the faucet valve, thereby affecting performance and damaging the faucet.
b) Installation instructions:
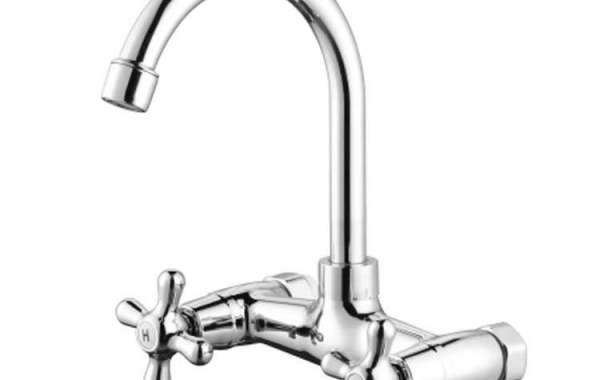
For the following installation instructions for the new bathroom Hot And Cold Faucet , it is assumed that all old bathroom accessories have been removed and any repairs or modifications to the water supply have been completed.
Before installation, please read the complete "Bathroom Faucet Installation Instructions".
Follow all local building and safety codes.
Open the package and check the product for shipping damage. If damage is found, do not install the faucet.
Installation tools and materials:
adjustable wrench
Silicone sealant
Wet cloth
How to install a new bathroom faucet perfectly?
If you have purchased Full Shower Set , please read it correctly before installation. If you follow the installation instructions correctly, then follow these quick steps for a smooth installation:
Install the rough valve body behind the finished wall. Use wood screws to connect the valve body to the wooden block between the two wall nails. Make sure that the coarse feed valve is completely level and connected to the main water supply system.
After finishing the wall around the rough valve, install the faucet decoration.
If your faucet is not assembled, please assemble it by connecting the threaded outlet to the faucet body. If your nozzle is already assembled, please proceed to the next step.
If your faucet has a decorative panel, fix the panel to the wall with silicone sealant before installing the handle and spout trim. Make sure that the panel is properly aligned on the coarse feed valve and is completely straight. If your faucet does not have a panel, continue to the next step.
If the decorative escutcheon escutcheon is not installed, place the escutcheon cover on the escutcheon body, and then install the escutcheon on the escutcheon handle. Screw the nozzle into place, and then firmly press the keyhole cover against the finished wall.
Tighten all the fixing screws on the nozzle with an Allen wrench.
Install the handle and all necessary hardware, and then tighten the set screws with an Allen wrench. If a rubber O-ring or sealing gasket is included, place it between the handle body and the wall to form a watertight seal.
After the faucet is installed, turn on the water supply. Check to make sure that all connections are secure (no water leakage), and the supply of hot and cold water is normal. Turn on the water and let the water flow through the nozzle for about 60 seconds. Before use, let the sealant cure for 24 hours.