The pp compression fitting are user-friendly, easy to install and have many purposes. These fittings aren’t normally used in new constructions but renovation projects. The pp compression fitting are ingenious because you can use them in places where welding isn’t an option. Also, compression fittings can be used on leaky pipes such as broken water lines in an emergency situation.
Step 1: A PP COMPRESSION FITTING
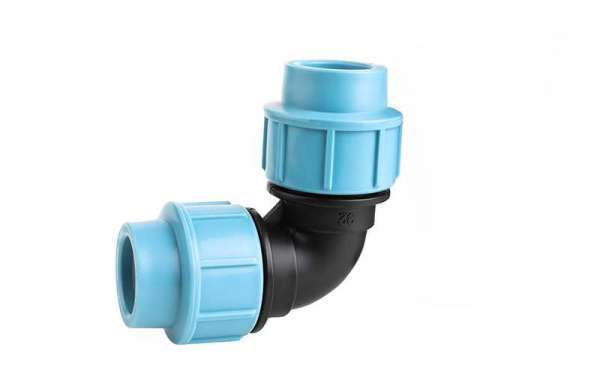
Alright, these fittings are composed of 3 parts, the valve in this case, a sleeve and a retainer nut. All of these work together to make a solid leak free connection.
Step 2: TOOLS/MATERIALS FOR THE JOB
You’ll be needing some tools and materials to install these the correct way, starting with either 2 open end wrenches the size of the retainer nuts or 2 adjustable wrenches, and I always like to install a bit of pipe dope to lubricate and seal my connections, so I’ll be using my trusty can of pipe dope.
Step 3: PREPPING THE PIPE/FITTING
So the first thing to do is to ensure that you pipe is free of any kinks, debris or just plain old dirt, so get yourself a clean paper towel or rag and clean it off as best as you could. Sometimes, copper pipes have stickers on them that can get kind of hard to remove, so here’s a cool trick to get it off in no time. Grab your plumber’s torch and heat the sticker thoroughly for a couple of seconds, then apply a bit a flux on it, and it’ll disappear with a couple of strokes. Make sure to wipe off any excess flux or it will eat up your pipe. If you do have a kink in your pipe, cut it a couple of inches before or else you run the chance of having a leaky joint.