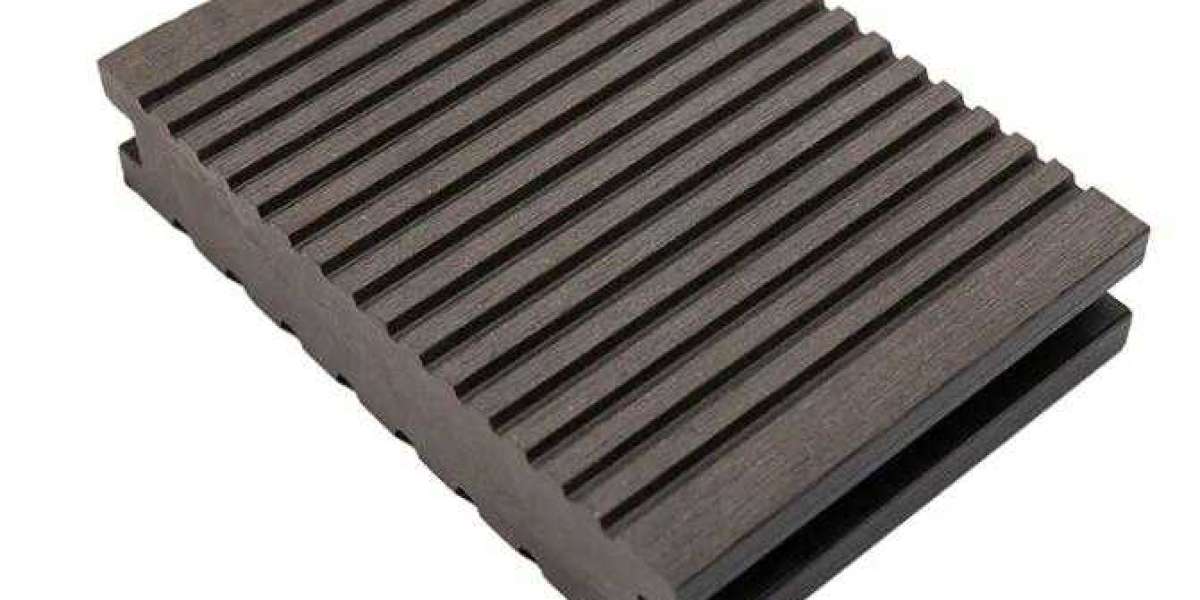
Outdoor WPC Floor Suppliers introduces the installation process of WPC floor:
1. Measure the floor area and loss
Typically, the pavement loss of a room is 5% of the floor pavement area. If there are special special-shaped structures or shapes, the loss should be considered according to the actual situation. According to experience, generally, 10-15% of the special-shaped installation loss is reserved.
2. Preparation for installation
Tape measure, square, cutter, pencil, wood block, soft hammer, skirting, beading (edge trim), and structural glue.
3. Environmental confirmation:
Confirm that the ground is flat and clean, and there is no cross-construction of other interior decoration projects; the width direction of continuous paving shall not exceed 6 meters, and the length direction shall not exceed 8 meters. The excess should be partitioned.
4. Installation steps
Choose the paving method (herringbone paving, I-shaped paving, 369 paving method, DIY creative paving), start paving from a right-angle wall, and leave a 6--10mm expansion joint between the floor and the wall. Leave a 6-10mm expansion joint and align the buckle. The buckle is inserted at a 20-45° angle, and the floor is pressed down to make it tightly bonded. Like other floors, the floor that continues to be laid should be wedged correctly in the longitudinal direction as above. Position. Pay attention to the installation process. When installing the last piece of the first row, you need to take the floor to measure the remaining part first. The floor needs to be measured in reverse. The special-shaped treatment such as the door frame of the room must be carefully marked and then cut. After the installation is completed Walk back and forth to ensure that the floor as a whole is not loose, there is no sense of suspension, and there is no abnormal noise when stepping on it. Then take out all the special pads at the reserved expansion joints.
5. Install skirting
The gap between the skirting line and the door frame is ≤2.0 mm, the gap between the skirting line and the door frame is ≤1.0 mm, and the height difference between the skirting line interface is ≤1.0 mm; when installing the solid wood skirting line, the height of the holes on the wall should be consistent (500 mm apart), Do not damage the pipelines in the wall, and the nail holes of the baseboard must be filled with putty of the same color to make it beautiful and smooth.
6. Install buckle
Confirm the installation position of the buckle and measure the size of the buckle. The installation requirements of the buckle should be perpendicular to the door cover, and the screws should be tightened. The buckle should be stable without any noise, and the bonding should be firm and beautiful.
Through the above introduction, WPC Material Factory hopes that you can simply refer to the content of this article in future use.


