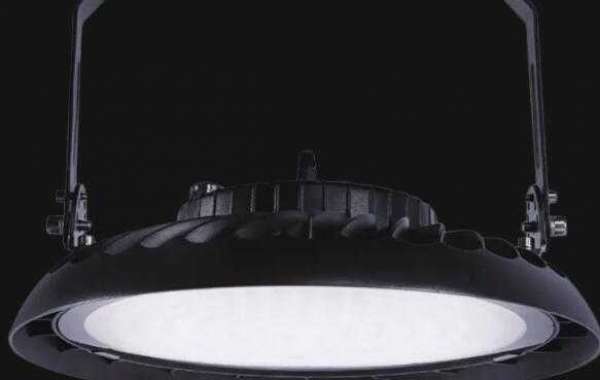
It doesn't matter what material your LED highbay light is made of, it requires the same method to hang it is a misleading perception as each light type has a different installation method. You should look for the type of installation first when buying a light fixture as all the steps are very different from one another.
The most common method is ceiling mount. This installation involves a U-shaped bracket. You should align the U-brackets with the lighting fixture to mount it on the ceiling. This method is highly recommended if you wish to set the lights from different angles. Follow the steps to install high bay LED lights on the ceiling.
Turn off the power - To avoid uncertain factors such as power failure, electric shock or other failures, please turn off the main power before installing the LED high bay.
Fixed Wires - Connect the fixed wires to the power unit as mentioned in the hook mount option above.
Align the U-brackets for installation - Carefully align the U-brackets with the lights and tighten them properly as the lights will be secured to the ceiling by the brackets.
Hanging U-Brackets - Mark the U-Bracket holes on the surface where you want to hang the light. Drill holes in the markers and secure the lights with screws and nuts so the lights don't wobble.
Adjust the light by setting the angle - now adjust the angle of the light. First, rotate the light wherever you want to spread out the lighting. Then, carefully place the angles so you don't have to do it again.
Turn the power back on - now the mains power is on and you are ready to use the high bay LED lights.
NINGBO MING XING LIGHTING CO., LTD. is a floodlight with stand Manufacturers, produce and export Outdoor led flood lights with sensors, floodlights with stand