The application method for HC (Heat Cure) and HCF (food-grade Heat Cure) injection Mold parts coatings is the same, done at room temperature in the tool room. You can use a microfiber swab or cloth, depending on the actual mold configuration.
Apply a small amount of coating to the swab or cloth and apply to the surface in one direction. When this is done correctly, the surface should look wet as if you rubbed an alcohol wipe over the surface. If the swab or cloth dries out, reapply coating.
After you apply the coating in one direction, apply a second coating in a perpendicular direction over the same area. The reason for the second coat and change in direction is to make sure the entire surface is coated well, as the coating can be hard to see during application. Make sure there are no streaks or pooling, as that can lead to a sticky residue once cured.
Next, with a standard heat gun, begin the curing process. Set the gun to 550-600 degrees Fahrenheit. With the gun 4-6 inches from the surface, apply heat in a slow, sweeping motion, back and forth, for at least 10 minutes over the entire coated area.
The HC and HCF coatings each have a UV dye that will show up under a black light, allowing you to confirm the entire area has been coated.
You can apply a second coating for a longer coating life if you’d like. One satisfied with your coating, cover the mold with a clean cloth to keep dust from settling into the coating. Let it rest for at least three hours to allow the coating to completely harden.
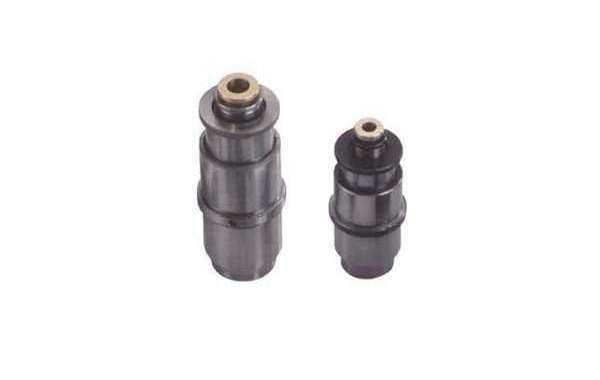
If you want to purchase Guide bush, welcome to send us messages!